On this page
- Map the journey before changing the store
- Step 1: research the customer’s task
- Step 2: match discovery content to the destination
- Step 3: make product pages answer the decision
- Step 4: measure the shopping funnel correctly
- Step 5: make checkout reliable and understandable
- Step 6: recover abandoned checkouts appropriately
- Step 7: make relevant offers after purchase
- Step 8: improve one bottleneck and review the outcome
- Use BrandWell for research and content preparation
- Common questions
A Shopify sales funnel is a way to map how shoppers discover a product, evaluate it, buy it and decide whether to return. Build it by matching each stage to a useful page or message, measuring the actual path and fixing the most important obstacles. More upsells, apps or pop-ups do not automatically produce more sales.
This guide uses a practical sequence: understand the shopper, explain the product, make checkout clear, support the purchase and test improvements. It separates a marketing model from the session-based funnel you see in reporting.
Map the journey before changing the store
Start with one product or collection and one audience. Write down what the shopper needs to know at each point. The journey may involve several visits, a recommendation or a direct checkout link, so do not assume every person follows an identical sequence.
- Discovery: What brings someone to the product, and does the landing page match that promise?
- Evaluation: What questions about fit, use, price or delivery remain unanswered?
- Purchase: Can the shopper understand the total cost and complete checkout?
- After purchase: Can the customer find delivery information, instructions and help?
- Return: Is another purchase genuinely useful, and is follow-up appropriate?
Keep this map short enough to use. For each stage, identify the page or message, the intended action and the evidence you need before proposing a change.
Step 1: research the customer’s task
Review support questions, returns, product reviews and conversations with customers. Look for specific concerns rather than assuming all shoppers share the same motivation. A product may appeal to different groups for different reasons.
For example, someone buying a travel bottle may care about cleaning, capacity, dimensions or whether a lid fits an existing bottle. Those needs suggest concrete information for the product page. Do not turn them into unsupported claims such as guaranteed leak prevention or universal compatibility.
Step 2: match discovery content to the destination
Use a relevant landing page for each campaign or guide. A visitor who clicks an explanation of bottle sizes should find that comparison, not a page that makes them search again. Keep the language and images consistent with the product that is actually available.
For organic content, answer a genuine buying or usage question. For paid campaigns, verify the current platform rules and measure the actual cost of relevant visits and purchases. An ad is not guaranteed a top placement or a profitable return.
Preserve campaign source information when links or redirects change. Avoid putting customer names, email addresses or phone numbers in tracking URLs. Source labels describe attribution context; they do not prove that one touchpoint caused a purchase.
Step 3: make product pages answer the decision
- Describe the product accurately. Include material, size, compatibility, care and important limits.
- Show useful images. Use clear photographs with detail and scale. Show the actual variant when differences matter.
- Explain delivery and returns. Make the relevant conditions easy to find before checkout.
- Use authentic evidence. Publish real reviews appropriately and do not invent testimonials or results.
- Make the next action clear. A shopper should understand what selecting a variant or adding to cart will do.
Review the page on a phone. Check whether long titles, image galleries, size selectors and sticky controls obscure essential information. An attractive desktop layout does not establish mobile usability.
Step 4: measure the shopping funnel correctly
In Shopify admin, go to Analytics, then Reports, and filter for Behavior. The Conversion rate breakdown report visualizes sessions, cart additions, reached checkout and completed checkout. Check whether its funnel is open or closed: a closed funnel requires the steps in sequence, while an open funnel can include entry at different points.
The report’s step rates use total sessions as their denominator. If you calculate a rate between two stages, label that different denominator explicitly. Completed-checkout sessions are not necessarily the same as order count because one session can contain multiple purchases.
Measurement note: Shopify documents a session-measurement rollout from September 21 to 23, 2026. Session-based figures can change without an equivalent change in traffic or purchases. Annotate reporting changes before comparing periods. The official behavior-report documentation includes this notice.
A worked diagnostic example
Assume a consistent closed funnel has 2,000 sessions, 200 sessions with cart additions, 100 reaching checkout and 50 completing checkout. These are invented figures, not a benchmark or a customer result.
- Cart additions / all sessions: 200 / 2,000 = 10%.
- Completed checkout / all sessions: 50 / 2,000 = 2.5%.
- Completed checkout / reached checkout: 50 / 100 = 50%.
The three rates answer different questions. They do not explain why people leave. Investigate the page experience, availability, shipping information and payment behavior before choosing a remedy.
Step 5: make checkout reliable and understandable
Test a purchase using the store’s appropriate test process. Check variants, inventory, shipping destinations, taxes, discounts and payment errors. Explain the final total and any recurring terms clearly. Do not disguise an optional addition as a required step.
Use customization methods supported by the current Shopify plan and checkout configuration. Thank-you and order-status pages have their own supported extension surfaces; do not assume old scripts or arbitrary theme edits apply everywhere. Consult Shopify’s customization documentation before implementation.
A premium theme or another app is not automatically the fix. Identify the obstacle first and inspect what the store already supports. Extra functionality also needs performance, accessibility and maintenance review.
Step 6: recover abandoned checkouts appropriately
Review failed payment events and actual checkout issues before sending more messages. A recovery message should help someone resume an incomplete purchase and accurately describe the offer. Check the current automation settings, recipient rules and marketing permissions in the store.
Shopify’s abandoned-checkout guidance explains recovery and reporting. Track completed orders and revenue alongside messages sent, rather than treating delivery or an email open as a recovered sale. Avoid duplicate reminders from overlapping workflows.
Step 7: make relevant offers after purchase
An upsell offers a higher-value option; a cross-sell offers a complementary item. Both should help the customer rather than obstruct access to their receipt or order details. Make the additional price, billing terms and accept-or-decline action explicit.
For the illustrative bottle store, a compatible replacement lid might be useful. A random high-margin accessory is not necessarily relevant. Test whether the offer increases contribution after discounts, fulfillment costs and returns. A higher order value alone is not proof of a better result.
On the thank-you page, prioritize confirmation, next steps and support. Keep a clear path to continue without buying another item. Use truthful deadlines; a timer should correspond to a real offer condition.
Step 8: improve one bottleneck and review the outcome
Choose a change based on evidence. If customers repeatedly ask about dimensions, test clearer measurements and photographs. If checkout fails for a shipping region, investigate the configuration. Adding a discount to every abandonment may hide the original problem.
Document the change, affected pages, period, traffic mix and success measure. Compare relevant segments and use a controlled test where appropriate. Account for seasonality, stock changes and reporting updates before attributing a result to the new page.
Use BrandWell for research and content preparation
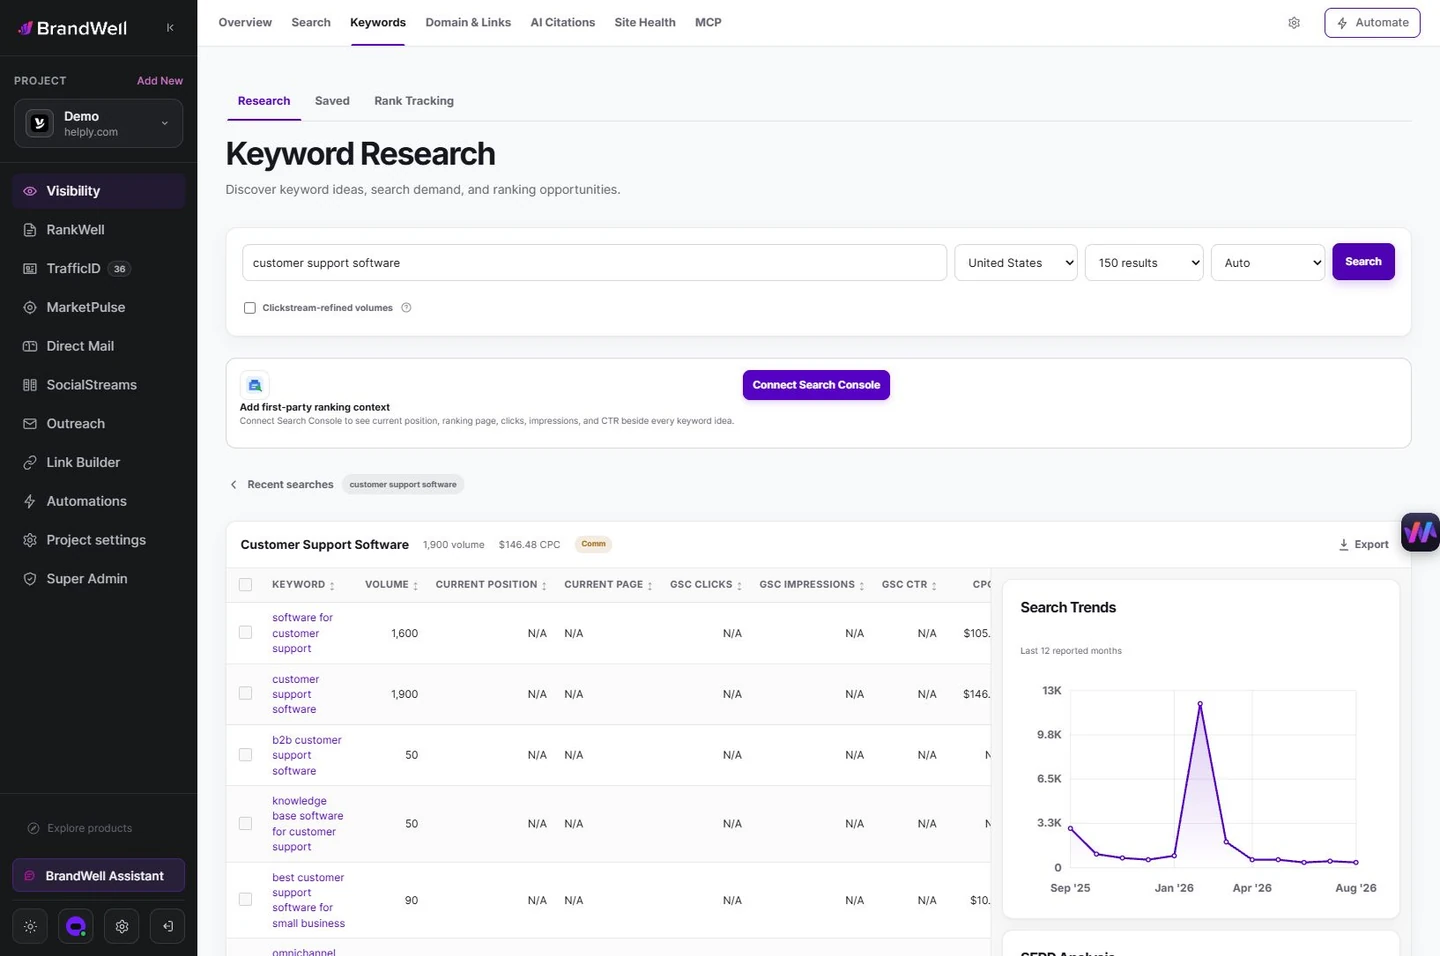
Use Keyword Research in BrandWell’s Visibility workspace to investigate the questions shoppers ask. Use RankWell for the brief, article draft and review. Add product-specific evidence and current specifications before publishing through your configured workflow. AIMEE can assist through configured tools and approved tasks; verify outputs and permissions.
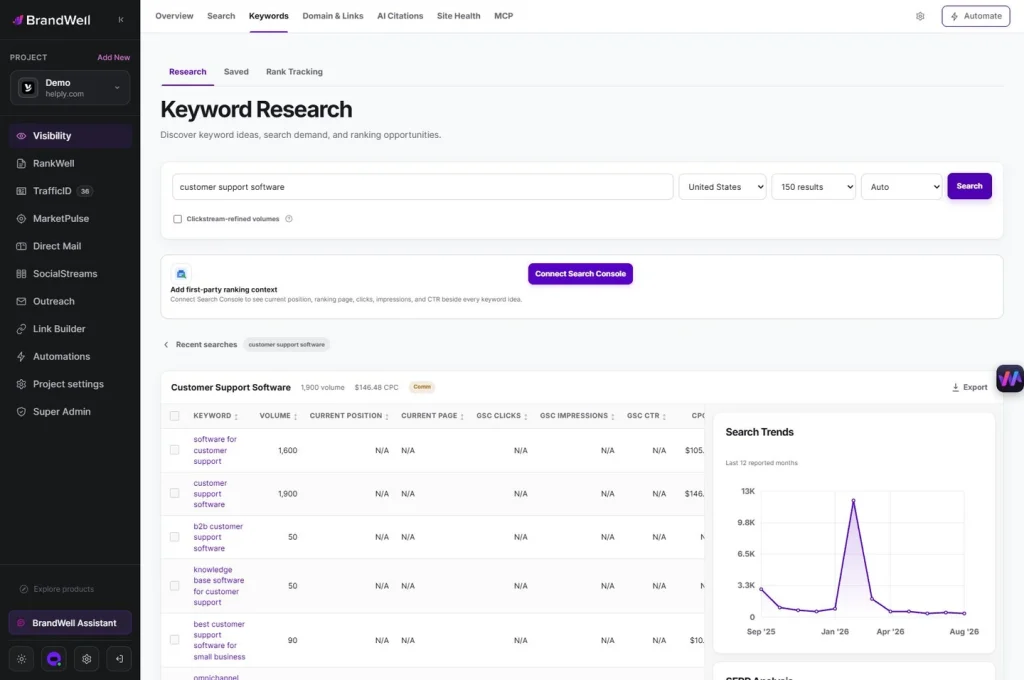
Start in the current BrandWell portal or explore RankWell. Do not assume this workflow supplies a native Shopify checkout integration or automatically proves a product claim.
Common questions
Does every shopper pass through five stages?
No. Stages are a planning model. Real journeys can include repeat visits, skipped steps and different devices. Check the definitions of the reporting funnel separately.
Do order bumps always reduce abandonment?
No. An additional offer can add complexity. Test relevance, price clarity and its effect on completed purchases and margin rather than assuming improvement.
Which metric should I improve first?
Start with a documented obstacle and a business goal. Inspect the relevant stage, denominator and segment. A low rate points to an investigation, not a complete diagnosis.
Reviewed and updated October 2, 2026.

Written by
Julia McCoy has contributed articles to BrandWell on content marketing, writing, and search engine optimization. This archive retains her original bylines; individual articles may be updated by the BrandWell editorial team.