


Imagine you’ve got a fantastic product ready to sell online. You install Easy PayPal & Stripe Buy Now Button to streamline the payment process, but the default button color clashes with your website’s aesthetic, or you need to capture additional customer data before checkout. Frustrating, right? This article will guide you through the process of customizing the plugin to perfectly match your needs, using the power of AI to make the process surprisingly simple.
We’ll explore common customization scenarios, introduce you to a tool that simplifies the process, and provide best practices to ensure your customizations are effective and maintainable. Forget struggling with complex code – AI is here to help you create a truly unique and effective online selling experience.
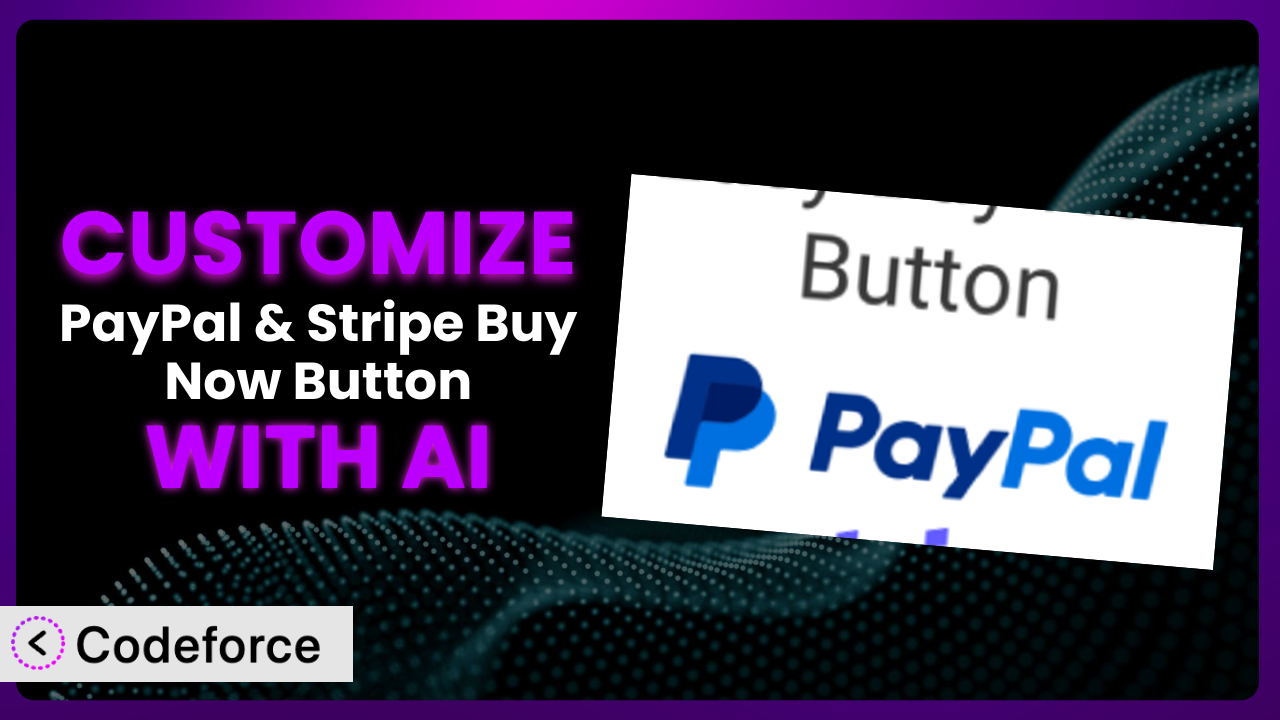
What is Easy PayPal & Stripe Buy Now Button?
Easy PayPal & Stripe Buy Now Button is a WordPress plugin designed to make selling online incredibly simple. It lets you add “Buy Now” buttons to your website, allowing customers to purchase your products or services directly through PayPal and Stripe, two of the most trusted payment gateways. It eliminates the need for complex coding, making it accessible to anyone, regardless of their technical skills.
With this tool, you can quickly create buttons, customize their appearance, and embed them on any page or post. It boasts a rating of 4.5/5 stars based on 23 reviews, and has over 10,000 active installations, indicating its popularity and reliability. The plugin lets you set pricing, add product descriptions, and even manage basic inventory. It’s a straightforward solution for getting your online store up and running quickly.
For more information about the plugin, visit the official plugin page on WordPress.org.
Why Customize it?
While the plugin provides a solid foundation for accepting payments, its default settings are intentionally broad to cater to a wide audience. This means the out-of-the-box experience might not perfectly align with your specific branding, business needs, or desired user experience. That’s where customization comes in.
Customizing this tool unlocks a range of possibilities. Imagine tailoring the button design to seamlessly integrate with your website’s color scheme and font choices, or adding custom fields to collect essential information from your customers before they complete their purchase. Perhaps you need to integrate it with a third-party CRM or email marketing platform to automate your sales process. These are just a few examples of the power of customization.
Consider a website selling handcrafted jewelry. The default button might look generic and out of place. By customizing the button’s appearance, adding a field to collect custom engraving requests, and integrating with a shipping calculator, the website can provide a more personalized and efficient shopping experience. This leads to increased conversions and happier customers. Knowing when the standard plugin features aren’t enough to offer the experience that your business needs is when you need to customize. A little effort here can really make your site stand out.
Common Customization Scenarios
Extending Core Functionality
Sometimes, the plugin’s core features don’t quite cover everything you need. You might require additional functionality, such as the ability to offer recurring subscriptions with custom billing cycles or integrate a specific tax calculation method that isn’t included by default.
Through customization, you can add these missing pieces, tailoring the system to perfectly match your business model. This could involve creating custom payment plans, implementing dynamic pricing based on user location, or adding support for alternative payment methods.
For instance, an online language tutoring service could use customization to create monthly subscription options with varying lesson durations and frequencies, going beyond the simple one-time payment functionality offered by default. AI simplifies the process by generating the necessary code snippets and integrations, saving you countless hours of manual development.
Integrating with Third-Party Services
A key aspect of any online business is connecting different tools and platforms to streamline workflows. The plugin, in its basic form, may not directly integrate with your preferred CRM, email marketing system, or accounting software.
Customization allows you to bridge these gaps, creating seamless data flow between the system and your other business applications. This could involve automatically adding customer information to your CRM after a purchase, triggering email marketing campaigns based on purchase history, or synchronizing sales data with your accounting software.
A small business owner might want to automatically add new customers who purchase a product to their Mailchimp email list. Customizing it to achieve this eliminates manual data entry and helps them nurture leads more effectively. AI makes this integration process far simpler by generating the API calls and data mapping logic required to connect the tools.
Creating Custom Workflows
Every business has its unique processes and workflows. The standard purchase process offered by the plugin might not perfectly align with your internal operations, requiring you to manually adjust or supplement the workflow after a purchase is made.
By customizing this tool, you can automate these post-purchase processes, streamlining your operations and reducing manual effort. This could involve automatically generating invoices, triggering fulfillment requests, or sending customized thank-you messages based on the purchased product.
An artist selling digital downloads might want to automatically generate a unique license key for each purchase and email it to the customer. This automated workflow saves them time and ensures that each customer receives their license key promptly. With AI, defining these automated workflows becomes much easier, turning complex instructions into functional code.
Building Admin Interface Enhancements
The default admin interface provided by the plugin might not provide all the information or tools you need to efficiently manage your sales and customers. You might find yourself constantly switching between different screens or manually compiling data to get a complete picture.
Through customization, you can enhance the admin interface, adding custom dashboards, reports, and management tools. This could involve creating a sales overview dashboard, generating reports on popular products, or adding tools to easily manage customer subscriptions.
A non-profit organization using the plugin to accept donations might want to create a custom dashboard that displays total donations received, average donation amount, and a breakdown of donations by campaign. This provides them with a clear overview of their fundraising efforts. AI simplifies this process by helping you generate the code for creating custom admin panels and data visualizations, all without extensive coding knowledge.
Adding API Endpoints
For more advanced integrations and custom applications, you might need to expose certain functionalities of the plugin through an API (Application Programming Interface). This allows other applications or services to interact with the tool programmatically.
Customization allows you to create custom API endpoints that expose specific data or functionalities. This could involve creating an API endpoint to retrieve product information, process payments, or manage customer data. This enables you to build custom integrations with mobile apps, web services, or other systems.
A company developing a mobile app for their online store might want to create an API endpoint to retrieve product information from the plugin and display it in the app. This allows them to provide a seamless shopping experience across different platforms. AI can assist in generating the API endpoints and handling the data exchange, significantly reducing the development time and complexity.
How Codeforce Makes the plugin Customization Easy
Traditionally, customizing WordPress plugins like this one required a significant investment in time and technical expertise. You’d need to learn the plugin’s architecture, understand WordPress coding standards, and potentially write complex PHP, HTML, and JavaScript code. This learning curve can be steep, especially for non-developers.
Codeforce eliminates these barriers, making customization accessible to everyone. It leverages the power of AI to translate your natural language instructions into functional code, simplifying the entire customization process. Instead of writing lines of code, you simply describe what you want to achieve, and Codeforce generates the necessary modifications for the plugin.
Imagine you want to change the button color to match your website’s branding. With Codeforce, you could simply type “Change the button color to #FF0000” (red), and the AI would generate the code to update the button’s CSS. You can then test the change to ensure it works as expected before deploying it to your live site. This ability to test within Codeforce ensures you don’t break any of your site functionality.
This democratization means better customization, faster turnaround times, and ultimately, a more effective online selling experience. Business owners can directly implement strategic improvements to this system without needing to hire developers, streamlining the process and saving valuable resources. Experts who deeply understand the plugin’s strategy can now implement customizations directly.
Best Practices for it Customization
Before diving into customization, it’s crucial to back up your entire WordPress website. This provides a safety net in case anything goes wrong during the customization process. A full backup allows you to quickly restore your site to its previous state.
Always test your customizations in a staging environment before deploying them to your live site. A staging environment is a copy of your website that allows you to experiment with changes without affecting your live users. This helps you identify and fix any issues before they impact your customers.
When customizing the plugin, strive to write clean, well-documented code. This makes it easier to understand and maintain your customizations in the future. Use comments to explain the purpose of each code block and follow consistent coding conventions.
Keep your customizations modular and organized. Avoid making direct modifications to the plugin’s core files, as these changes will be overwritten during updates. Instead, use hooks and filters to extend the plugin’s functionality in a non-destructive way. This ensures that your customizations remain intact after updates.
Regularly monitor your customizations to ensure they are working as expected. Check for errors in your website’s error logs and monitor your website’s performance to ensure that your customizations are not causing any performance issues.
Document all your customizations, including the purpose of each customization, the code changes you made, and any relevant configuration settings. This documentation will be invaluable for future maintenance and troubleshooting.
Stay informed about updates to the plugin and ensure that your customizations are compatible with the latest version. Regularly test your customizations after each update to identify and fix any compatibility issues. Make sure that any AI suggestions are tested before deploying to your website!
Frequently Asked Questions
Will custom code break when the plugin updates?
It’s possible. That’s why using hooks and filters, rather than directly modifying plugin files, is essential. Still, always test customizations on a staging site after any update to ensure compatibility. If there’s an issue, review your code for conflicts with the new version.
Can I customize the “Buy Now” button’s appearance without code?
The plugin itself might offer basic styling options in its settings. But for extensive customization, like using custom fonts or adding animations, code (or a tool like Codeforce) is often needed. This allows for far greater control over the button’s look and feel.
How do I add custom fields to collect more customer information?
You’ll likely need to use WordPress hooks and filters to modify the checkout form. This involves adding custom HTML fields and then processing the submitted data. Codeforce can make this process significantly easier by generating the necessary code snippets.
Is it possible to integrate the plugin with my existing CRM system?
Yes, but it typically requires custom development. You’ll need to use the CRM’s API and the plugin’s hooks to send customer data after a purchase. Codeforce can help you generate the API calls and data mapping logic.
How can I track the performance of my customized buttons?
Implement event tracking using Google Analytics or a similar tool. You can track button clicks, conversion rates, and other metrics to measure the effectiveness of your customizations. Ensure your tracking code is properly implemented and tested.
Conclusion: From Basic Button to Bespoke Buying Experience
What starts as a simple way to accept payments can transform into a powerful, personalized sales engine when you embrace customization. By extending its core functionality, integrating it with your favorite tools, and tailoring the user experience, you can create a truly unique and effective online selling experience with the plugin.
The key takeaway is that you’re no longer limited by the plugin’s default settings. With Codeforce, these customizations are no longer reserved for businesses with dedicated development teams. It opens the door for anyone to tailor the system to their exact needs, resulting in increased conversions, happier customers, and a more streamlined business operation.
Ready to supercharge your online sales? Try Codeforce for free and start customizing it today. Enhance your customer experience and boost your bottom line!


