


Ever wished you could tweak that lightbox just a little bit more to perfectly match your website’s branding or add that one specific feature you’ve been dreaming of? Many WordPress users love Responsive Lightbox for its simplicity, but sometimes the default settings just don’t cut it. Customizing plugins used to require diving deep into code, but what if I told you there’s a way to tailor it to your exact needs without writing a single line of code yourself? That’s where AI comes in. This article will guide you through the process of customizing this great plugin using the power of artificial intelligence, making it easier than ever to get the exact functionality you desire.
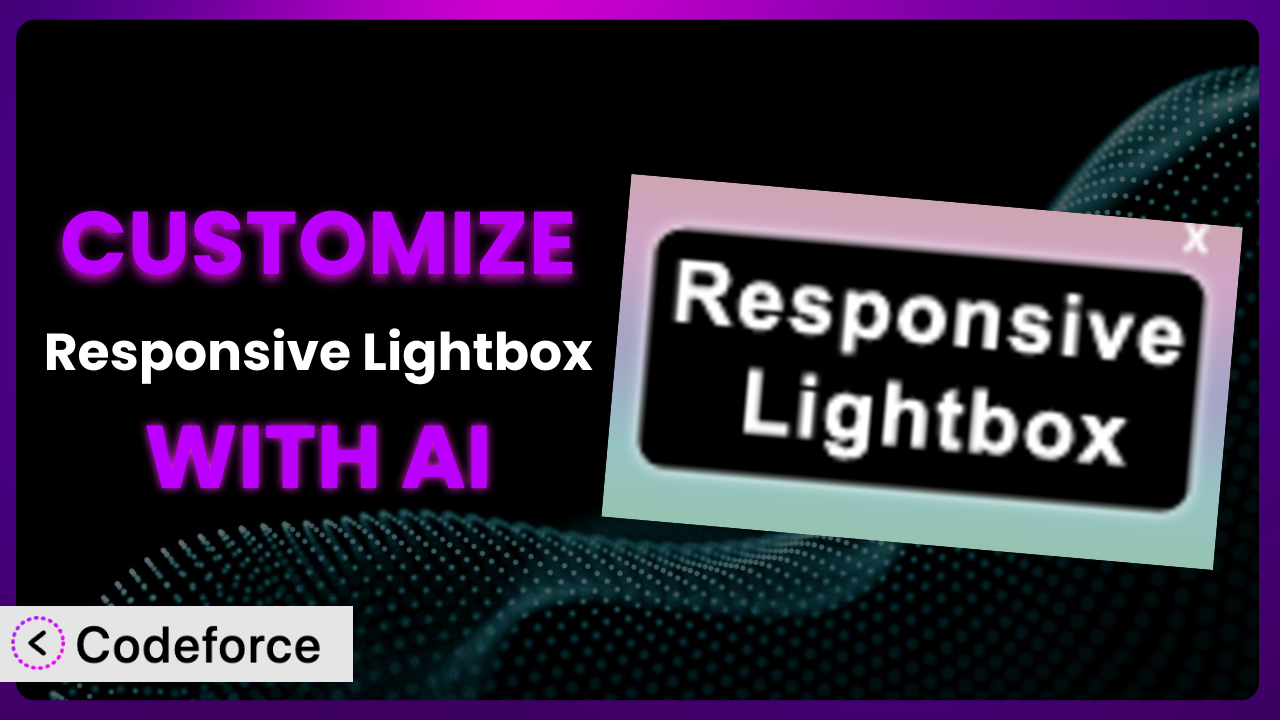
What is Responsive Lightbox?
Responsive Lightbox is a WordPress plugin designed to provide a simple and visually appealing way to display images, HTML content, and media in a lightbox on your website. Instead of navigating to a new page, the content “pops up” over the existing page, creating a seamless user experience. This is especially useful for showcasing portfolios, product images, or any other content you want to highlight without disrupting the user’s flow.
Key features include responsive design, meaning it adapts to different screen sizes; support for various media types; and simple configuration options. You can easily integrate it with existing WordPress galleries or use it to display content directly from links. With a solid 4.6/5 star rating from 41 reviews and over 10,000 active installations, it’s a popular choice for WordPress users looking to enhance their website’s visual appeal.
For more information about the plugin, visit the official plugin page on WordPress.org.
Why Customize it?
While the default settings of the plugin are useful for many websites, there are plenty of situations where customization becomes essential. Think about it: every website has a unique brand identity, design aesthetic, and specific functionality requirements. Default settings simply can’t cater to all these individual needs perfectly.
The biggest benefit of customization is branding consistency. Maybe you need the lightbox’s color scheme to match your brand’s palette exactly. Or perhaps you want to add a custom logo or footer to the lightbox overlay. These kinds of tweaks are easy to achieve with customization. Another significant advantage is enhanced functionality. For example, you might want to integrate the system with a third-party service like a CRM or add custom social sharing buttons. These integrations can greatly improve user engagement and conversion rates.
Consider a photography website. The standard image display might be sufficient, but by customizing, the photographer could add watermarks directly to images displayed in the lightbox, protect their work, and ensure proper attribution. Or think about an e-commerce site. They could add “Add to Cart” buttons directly within the lightbox when a product image is clicked, streamlining the purchasing process. Customization allows you to mold the plugin to fit seamlessly into your website’s specific workflow and provide a better user experience.
Common Customization Scenarios
Extending Core Functionality
Sometimes, you need the plugin to do something it wasn’t originally designed to do. Maybe you want to add a specific type of animation or transition effect that isn’t included in the default options, or perhaps you’d like to display additional information alongside the media content, such as captions pulled dynamically from a custom field.
Through customization, you can unlock functionality beyond what the original developers envisioned, making it fit more precisely to your specific needs. For instance, you could add support for displaying 3D models in the lightbox or integrate with a custom video player that provides advanced controls.
Imagine a website showcasing architectural designs. Instead of just displaying static images, you could allow users to interact with 3D models of the buildings directly within the lightbox, giving them a much more immersive experience. With AI assistance, creating this advanced functionality becomes far more manageable, as the AI can help generate the necessary code and integrate it seamlessly with the existing plugin.
Integrating with Third-Party Services
Out-of-the-box, the system operates in isolation. But what if you want it to “talk” to other services you’re using? This could involve anything from connecting it to a CRM like HubSpot to automatically capture leads from users who interact with the lightbox, to integrating with a social media platform like Instagram to display your latest posts directly within the overlay.
Integration unlocks powerful new possibilities for automating tasks and streamlining workflows. For example, you could connect the system to your email marketing platform and automatically subscribe users to a newsletter when they view a specific image in the lightbox. This kind of integration can significantly boost your marketing efforts.
Consider a travel blog. They could integrate the plugin with a booking platform like Booking.com, allowing users to directly book accommodations featured in the lightbox. AI can assist in generating the API calls needed to connect to these third-party services, making the integration process much smoother and less error-prone.
Creating Custom Workflows
Every business has unique workflows and processes. The default settings might not align perfectly with the way you want to manage and display content. Perhaps you need a way to automatically categorize images displayed in the lightbox based on specific criteria, or you want to trigger a notification when a user interacts with a specific piece of media.
By customizing, you can build custom workflows that automate repetitive tasks and improve efficiency. For instance, you could create a workflow that automatically adds a watermark to all images displayed in the lightbox based on the user’s role or the image’s category. Or maybe you’d like to track which images are most popular and automatically feature them more prominently on your website.
Think of an online course platform. Custom workflows could automatically display related course materials in the lightbox when a student views a specific video, enhancing the learning experience. AI can help you define and implement these custom workflows by generating the necessary code and integrating it with your existing systems.
Building Admin Interface Enhancements
The standard admin interface might not provide all the controls you need to manage effectively. Maybe you want to add custom fields to each item displayed in the lightbox, allowing you to store additional information, or you need a more intuitive way to organize and categorize your media content.
Customizing the admin interface makes managing easier. For example, you could add a custom field to each image that allows you to specify a custom URL that users are redirected to when they click on the image. Or you could create a custom dashboard widget that displays key statistics about how users are interacting with the lightbox.
Consider a news website. Editors could use custom admin interface enhancements to easily add captions, credits, and source information to images displayed in the lightbox. AI can assist in creating these admin interface enhancements by generating the necessary code and integrating it with the WordPress admin panel.
Adding API Endpoints
If you want to interact programmatically or allow other applications to access content, you’ll need to add API endpoints. This would enable you to, for example, create a mobile app that pulls images from the lightbox or integrate it with a separate content management system. APIs allow external systems to communicate and exchange data.
By adding API endpoints, you can unlock countless possibilities for integration and automation. You could create a custom dashboard that displays real-time analytics about how users are interacting with the system. Or maybe you want to allow users to upload images directly to the lightbox from their mobile devices.
Think about a real estate website. They could add API endpoints to allow users to search for properties and view detailed images in the lightbox directly from a mobile app. AI can assist in generating the necessary code for creating these API endpoints and securing them against unauthorized access.
How Codeforce Makes the plugin Customization Easy
Customizing WordPress plugins can often feel like navigating a maze. You’re often faced with a steep learning curve, complex technical requirements, and the need to write custom code. This can be daunting, especially if you’re not a seasoned developer. Where do you even start?
Codeforce eliminates these barriers by providing an AI-powered platform that simplifies plugin customization. Instead of wrestling with code, you can simply describe what you want to achieve in natural language. Tell the system you want to add a specific animation effect, integrate with a third-party service, or create a custom workflow, and the AI will generate the necessary code for you.
Here’s how it works: You describe the changes you want to make to the plugin using plain English. The AI analyzes your request and generates the appropriate code snippets. You can then review the generated code and test it in a safe environment before deploying it to your live site. Codeforce even provides tools for testing your customizations to ensure they work as expected and don’t break anything. This democratization means better customization because even non-developers can customize the system. Experts who truly understand the plugin strategy for their business can now implement even without being programmers.
The best part? You don’t need to be a coding expert to use Codeforce. The platform is designed to be intuitive and user-friendly, making plugin customization accessible to everyone. This democratization means better customization because even non-developers can customize this tool.
Best Practices for it Customization
Before diving into customization, always back up your WordPress website. This provides a safety net in case anything goes wrong during the customization process. You don’t want to lose your data or break your website!
Create a staging environment. This allows you to test customizations without affecting your live website. A staging environment is a copy of your website that you can use for testing and development purposes.
When customizing the system, start with small, incremental changes. This makes it easier to identify and fix any issues that may arise. Don’t try to implement too many changes at once!
Thoroughly test your customizations on different devices and browsers. Ensure that the lightbox works correctly on desktops, tablets, and smartphones. Also, test it with popular browsers like Chrome, Firefox, and Safari.
Write clean, well-documented code. This will make it easier to maintain and update your customizations in the future. Use comments to explain what your code does and why you made certain decisions.
Monitor performance closely after implementing customizations. Check to see if the changes negatively impacted website speed or overall performance. Use tools like Google PageSpeed Insights to measure performance.
Stay updated with the plugin’s updates and releases. This will help you ensure that your customizations remain compatible with the latest version of the system. Check the plugin’s changelog for any breaking changes.
Frequently Asked Questions
Will custom code break when the plugin updates?
It’s possible. Plugin updates sometimes include changes that can conflict with custom code. It’s important to test your customizations after each update to ensure they still function correctly. Using a staging environment is extremely helpful in this situation.
Can I revert to the default settings if I don’t like my customizations?
Yes, you can typically revert to the default settings by deactivating or uninstalling your customized version of the plugin and reinstalling the original. However, you’ll need to back up your customizations if you want to reuse them later.
Does customization affect the plugin’s responsiveness?
It could, especially if you’re adding custom CSS or JavaScript that isn’t responsive. Be sure to test your customizations on different screen sizes to ensure it remains responsive.
Is it possible to customize the plugin without writing any code?
Yes, with tools like Codeforce, you can customize many aspects of this tool using natural language instructions, eliminating the need to write code manually for many common customization scenarios.
How can I share my customized version of the plugin with others?
You can package your customizations as a separate plugin or share the code snippets with other users. However, be sure to respect the original plugin’s licensing terms.
Unlocking Limitless Potential with Customized Lightboxes
The journey from using a general tool like the plugin to a truly customized system is a transformative one. What starts as a simple way to display images becomes a powerful extension of your brand, a streamlined workflow, and an enhanced user experience. By tailoring it to your specific needs, you unlock hidden potential and create something truly unique.
Customization enhances visual appeal and significantly improves the user experience, leading to increased engagement and conversions. It’s about taking control of your website’s functionality and tailoring the plugin to fit seamlessly into your unique requirements. The results are well worth it. With Codeforce, these customizations are no longer reserved for businesses with dedicated development teams; they’re accessible to everyone.
Ready to transform your website? Try Codeforce for free and start customizing it today. See your vision come to life.


