


Ever felt like the “Back to Top” button on your website just doesn’t quite fit your brand? Maybe the color clashes, or the icon feels outdated, or you wish it did something a little… extra? Customizing elements like the back-to-top button can be a real pain, often requiring coding skills or hiring a developer. Thankfully, with advancements in AI, you can now tailor plugins like Smooth Back To Top Button to perfectly match your website’s needs without touching a single line of code. This article will guide you through customizing this tool with the power of AI, making the process easier and more accessible than ever before.
What is Smooth Back To Top Button?
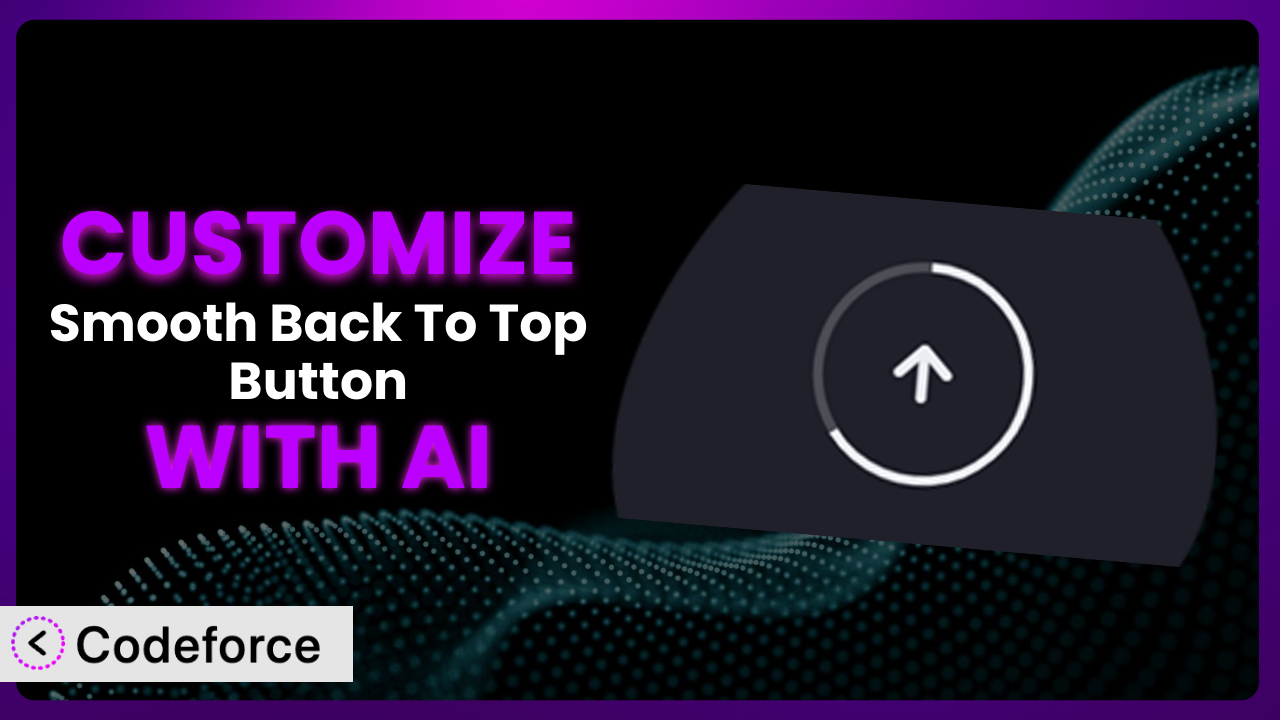
The “Smooth Back To Top Button” is a WordPress plugin designed to enhance user experience by providing a simple and elegant way for visitors to quickly return to the top of a page. It’s more than just a button; it often includes a scroll progress indicator, giving users visual feedback as they navigate the page. With this tool, you can improve website navigation without bogging down your page load times. Key features include customizable appearance options (like color, shape, and icon) and smooth scrolling animation.
It’s a popular choice among WordPress users, boasting a 4.9/5 star rating from 30 reviews and has over 30,000 active installations. It’s easy to see why so many website owners find it useful!
For more information about the plugin, visit the official plugin page on WordPress.org.
Why Customize it?
While the default settings of a plugin often provide a good starting point, they rarely cater perfectly to the specific needs of every website. That’s where customization comes in. The generic look and feel might not align with your brand’s identity, or the default functionality might not fully address your users’ needs. Customization enables you to make the plugin an integral part of your website, seamlessly integrated and providing a unique, branded experience.
Think about it: a sleek, minimalist website might benefit from a subtle, transparent back-to-top button that appears only when needed. Conversely, a vibrant, playful website might opt for a brightly colored, animated button that catches the eye. Customization allows you to tailor the appearance and behavior of the plugin to fit seamlessly with your website’s aesthetic and user experience goals.
Customization isn’t just about aesthetics either; it’s about functionality. Maybe you want the button to trigger a specific animation upon click, or integrate with a third-party analytics service to track usage. For instance, an e-commerce site might want the button to disappear on product pages to avoid distracting from the purchase process. These tailored experiences are where customization shines.
Ultimately, the decision to customize rests on whether the default settings adequately meet your needs. If you find yourself wishing for more control over the appearance, behavior, or functionality, then customization is definitely worth exploring.
Common Customization Scenarios
Extending Core Functionality
Out of the box, the plugin offers a set of core features. However, you might want to add functionality that goes beyond the basics. Perhaps you want to trigger a specific event upon clicking the button, such as displaying a promotional message or launching a chat window.
Through customization, you can add these extra layers of functionality, tailoring the plugin to meet specific business requirements. This expands the tool’s usability and integrates it more seamlessly into your website’s ecosystem.
For example, a blog might customize the back-to-top button to also share the article on social media after the user scrolls back to the top. This encourages social sharing and increases engagement.
AI streamlines this process by generating the necessary code snippets based on natural language instructions. Instead of manually coding the integration, you can simply describe what you want the button to do, and the AI will handle the technical details.
Integrating with Third-Party Services
Websites rarely operate in isolation. They often rely on third-party services for analytics, marketing automation, and other essential functions. Integrating the plugin with these services can unlock valuable insights and streamline workflows.
Through customization, you can connect the button to these services, allowing you to track button clicks in Google Analytics, trigger email sequences in your marketing automation platform, or even send data to a CRM.
Consider a SaaS company using the tool. They might customize the button to track how often users scroll back to the top of their pricing page. This data can then be used to optimize the page layout and improve conversion rates.
AI simplifies this integration by providing pre-built code snippets for common third-party services. You can then use these snippets to quickly and easily connect the plugin to your existing tools and workflows.
Creating Custom Workflows
Every website has its own unique workflow. Whether it’s managing content, processing orders, or handling customer support, efficiency is key. Customizing the plugin can help streamline these workflows by automating tasks and reducing manual effort.
For instance, you could create a custom workflow that automatically adds a tag to a user’s profile when they click the button on a specific page. Or, you could trigger a notification to the website administrator when the button is clicked a certain number of times within a specific timeframe.
Imagine a membership site customizing the back-to-top button to display a personalized welcome message and a link to their account page when logged-in members scroll back to the top of any premium content page. This enhances user experience and encourages further engagement.
AI can assist in creating these custom workflows by generating the necessary code based on your specific requirements. You can simply describe the workflow you want to create, and the AI will provide the code needed to implement it.
Building Admin Interface Enhancements
The WordPress admin interface is powerful, but it can sometimes be overwhelming, especially for non-technical users. Customizing the plugin can help simplify the admin interface and make it more user-friendly.
You could add custom fields to the plugin’s settings page, allowing administrators to easily configure the button’s appearance and behavior. Or, you could create a custom dashboard widget that displays key metrics related to the button’s usage.
A web design agency might customize the backend of the tool to easily update branding of the back to top button across all client websites from a single dashboard, allowing for fast and streamlined maintenance.
AI can significantly accelerate the development of these admin interface enhancements by generating the necessary HTML, CSS, and JavaScript code. You’ll be able to create a more intuitive and efficient admin experience for your users.
Adding API Endpoints
For more advanced users, adding API endpoints to the plugin can open up a world of possibilities. API endpoints allow you to interact with the plugin programmatically, enabling you to integrate it with other systems and services.
You could create an API endpoint that allows you to remotely control the button’s appearance and behavior. Or, you could build an API endpoint that allows you to retrieve data about the button’s usage.
A marketing platform that helps brands run sweepstakes, might allow participants to immediately navigate back to the top for another entry, generating an API to track how often participants are using the feature to increase engagement.
AI can assist in creating these API endpoints by generating the necessary code and documentation. This simplifies the process of integrating the plugin with other systems and services, allowing you to unlock its full potential.
How Codeforce Makes the plugin Customization Easy
Customizing plugins can often feel like navigating a maze. The learning curve is steep, requiring you to understand the plugin’s codebase, WordPress hooks and filters, and potentially even delve into PHP, HTML, CSS, and JavaScript. For many users, especially those without a technical background, this can be a significant barrier to entry.
Codeforce eliminates these barriers by providing an AI-powered platform that simplifies the customization process. With Codeforce, you don’t need to be a coding expert to tailor the plugin to your specific needs. Instead of wrestling with complex code, you can simply describe what you want to achieve using natural language.
The AI assistant understands your instructions and automatically generates the necessary code snippets. It then integrates these snippets into the plugin, ensuring that your customizations are implemented correctly and seamlessly. What’s more, Codeforce provides testing capabilities, allowing you to preview your changes and ensure that they work as expected before deploying them to your live website. The AI makes specific recommendations based on your prompts, so you can easily tweak and refine the result until it is perfect.
This democratization means better customization for everyone. Website owners and marketing professionals who deeply understand their site strategy and user needs can now implement sophisticated plugin customizations without needing to hire a developer or spend countless hours learning to code. With Codeforce, customizing this tool is now accessible to anyone.
Best Practices for it Customization
Before diving into customizing the plugin, it’s crucial to plan. Define your objectives clearly: what specific problem are you trying to solve, or what specific improvement are you trying to achieve? This will guide your customization efforts and ensure that you stay focused on your goals.
Always test your customizations thoroughly in a staging environment before deploying them to your live website. This will help you identify and fix any potential issues before they impact your users. Pay close attention to responsiveness across different devices and browsers.
Keep your customizations modular and well-organized. Avoid making changes directly to the plugin’s core files. Instead, use hooks and filters provided by WordPress or the plugin itself. This will make it easier to maintain your customizations and prevent them from being overwritten during plugin updates.
Document your customizations clearly and concisely. This will help you (or other developers) understand what you’ve done and why. Include comments in your code and create a separate document outlining the purpose and functionality of each customization.
Regularly monitor the performance of your customizations. Keep an eye on your website’s loading times and resource usage. If you notice any performance issues, investigate and optimize your code accordingly. Be especially careful when loading external assets.
Stay up-to-date with the plugin’s updates. Review the changelog for each update and ensure that your customizations are still compatible. Make any necessary adjustments to your code to accommodate the changes.
Consider using a version control system like Git to manage your customizations. This will allow you to track changes, revert to previous versions, and collaborate with other developers more effectively.
Frequently Asked Questions
Will custom code break when the plugin updates?
It’s possible, especially if you’ve modified the plugin’s core files directly. That’s why it’s always best to use hooks and filters to add your customizations. This reduces the risk of conflicts during updates.
Can I customize the button’s appearance without coding?
The plugin already offers several appearance options within its settings. However, if you need more advanced customization, AI-powered tools like Codeforce can help you achieve your desired look without writing any code.
How do I revert to the default settings after customization?
If you’ve used a tool like Codeforce, you can usually disable or remove the custom code snippets. If you’ve modified the plugin’s core files, you may need to reinstall the plugin or restore from a backup.
Is it possible to add custom animations to the button?
Yes, you can definitely add custom animations! Using CSS or JavaScript, you can create unique effects that trigger when the button is clicked or when the user scrolls. Codeforce can assist with generating the necessary code.
Can I track how many times the “Back to Top” button is clicked?
Absolutely! You can integrate the plugin with Google Analytics or other analytics tools to track button clicks as events. This data can provide valuable insights into user behavior and website usability.
Unlocking the Full Potential of the plugin
By now, you should have a solid understanding of how you can take the plugin from a general, out-of-the-box solution to a highly customized tool that perfectly complements your website. The ability to tailor its appearance, functionality, and integrations empowers you to create a truly unique user experience that aligns with your brand and business goals.
From extending its core functionality to integrating with third-party services and streamlining custom workflows, the possibilities are endless. Customizing it offers significant advantages, including improved brand consistency, enhanced user engagement, and increased efficiency.
With Codeforce, these customizations are no longer reserved for businesses with dedicated development teams or users who have advanced coding skills. The AI-powered platform makes the customization process accessible to everyone, regardless of their technical expertise.
Ready to elevate your website with a perfectly customized back-to-top button? Try Codeforce for free and start customizing the plugin today. Create a better user experience and boost your conversions!


