


Ever felt limited by the default settings of a WordPress plugin? You want to tweak it just so, add a specific feature, or integrate it seamlessly with another tool, but the options just aren’t there. That’s a common frustration, especially with plugins like Twenty20 Image Before-After, which are fantastic out-of-the-box but might need some extra oomph to perfectly match your website’s vision. This article will guide you through the process of customizing this plugin to meet your exact needs, and we’ll show you how AI-powered tools can make the whole process significantly easier.
What is Twenty20 Image Before-After?
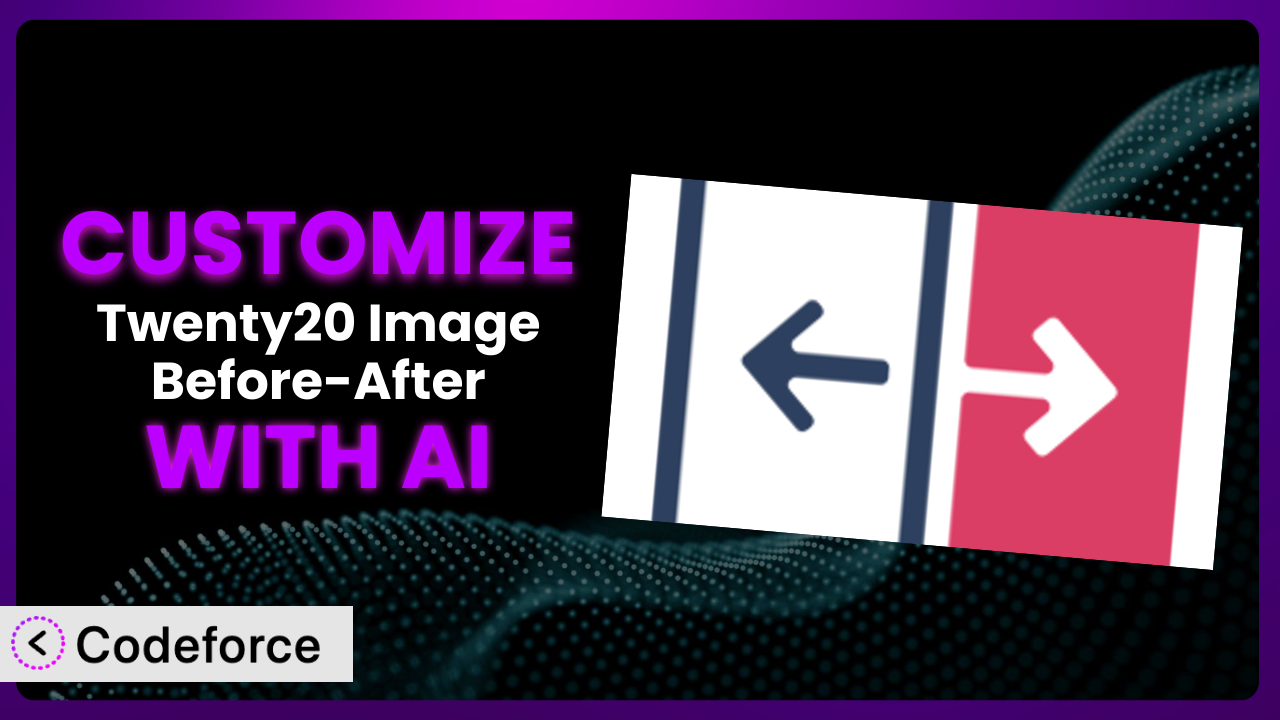
Twenty20 Image Before-After is a WordPress plugin that lets you create visually engaging before-and-after image comparisons right on your website. Instead of just telling your audience about the changes you’ve made, you can show them with an interactive slider. It’s perfect for showcasing photo edits, product transformations, or design revisions. The interface is intuitive, making it easy to upload your images and create compelling comparisons in minutes.
The tool boasts a simple drag-and-drop interface and is designed for ease of use, allowing users to quickly create dynamic image comparisons without needing any coding knowledge. With a solid rating of 4.0/5 stars based on 55 reviews and over 30,000 active installations, it’s clear many people are finding it a valuable addition to their WordPress sites. For more information about the plugin, visit the official plugin page on WordPress.org.
Why Customize it?
While the plugin offers a great set of features, sometimes the default settings just don’t cut it. Maybe you need a specific slider style to match your branding, or you want to integrate it with a different plugin for a unique user experience. The truth is, every website is different, and a one-size-fits-all approach rarely delivers the best results. Customization allows you to tailor the plugin to your specific needs, creating a truly unique and effective experience for your visitors.
Imagine you’re a photographer showcasing retouching work. The default slider might not offer the subtle animations you need to highlight the nuances of your edits. Or perhaps you’re an e-commerce store selling home renovation products, and you want to link directly to the products featured in the “after” image. Customization can make these scenarios a reality, enhancing user engagement and driving conversions. For instance, a home improvement website may customize the slider to include labels with product names directly on the before and after images, linked to their respective product pages. This improves user experience by providing immediate access to items they see.
Ultimately, deciding whether or not to customize comes down to weighing the benefits against the effort required. If you’re finding that the tool is almost perfect, but missing that one key feature or integration, then customization is definitely worth considering. It can transform a good plugin into a fantastic one, perfectly tailored to your specific goals.
Common Customization Scenarios
Extending Core Functionality
Sometimes, you need the plugin to do something it wasn’t originally designed to do. This is where extending core functionality comes in. Maybe you need to add additional image information, change the transition effects, or add custom labels to the images. This goes beyond simple setting changes; it’s about adding new behaviors and features.
Through customization, you can add completely new features to the slider. For example, imagine being able to automatically blur faces in before-and-after photos to protect privacy. Or adding a “share” button directly on the comparison, making it easy for visitors to spread the word.
A real-world example of this would be a medical website using the comparison tool to showcase the results of cosmetic procedures. They might want to add a feature that allows users to zoom in on specific areas of the image for a closer look, or include a disclaimer about individual results varying.
AI makes implementation easier by automating much of the code generation. Instead of having to write complex Javascript from scratch, you can simply describe the functionality you want, and AI-powered tools can generate the necessary code snippets.
Integrating with Third-Party Services
WordPress thrives on its ecosystem of plugins, and sometimes the real magic happens when you combine them. Integrating the plugin with third-party services allows you to create seamless workflows and unlock powerful new possibilities. It might involve connecting it to a CRM, an analytics platform, or even another visual editor.
Customization can allow the before-and-after images to be dynamically updated based on data from an external API. You could also integrate it with an email marketing service to automatically collect leads from people who interact with your sliders.
Consider a real estate agency using the tool to showcase property renovations. They could integrate it with their CRM to automatically track which properties visitors are most interested in based on their interactions with the sliders, allowing them to tailor their marketing efforts accordingly.
AI makes integration simpler by handling the often complex task of connecting different APIs. It can automatically generate the code needed to send and receive data between the plugin and other services.
Creating Custom Workflows
Streamlining your content creation process can save you time and effort. Creating custom workflows around the plugin allows you to automate repetitive tasks and ensure consistency across your website. It could involve automatically resizing images, adding watermarks, or generating different versions of the slider for different devices.
With customization, you can create a system where the plugin automatically optimizes images for web performance whenever a new comparison is uploaded. Or integrate it with a translation plugin to automatically generate multilingual versions of the sliders.
A design agency could implement a workflow where a specific set of branding elements are automatically added to all before-and-after images, ensuring consistency across their portfolio.
AI can greatly reduce the manual effort involved in setting up these workflows. It can automate tasks like image optimization and code generation, allowing you to focus on the creative aspects of your work.
Building Admin Interface Enhancements
The WordPress admin panel is your control center, and making it more user-friendly can significantly improve your efficiency. Building admin interface enhancements for the plugin involves adding new options, reorganizing settings, or creating custom dashboards to manage your comparisons.
You could create a custom dashboard that allows you to easily track the performance of your different comparisons, showing you which ones are generating the most engagement. Or add new options to the plugin settings that allow you to fine-tune the slider’s appearance.
A web design company might build custom interface enhancements that allow them to easily manage and reuse before-and-after templates across multiple client websites.
AI can assist in building these enhancements by automatically generating the code for custom admin panels and options pages. This can save you a significant amount of time and effort compared to coding them from scratch.
Adding API Endpoints
API endpoints allow you to interact with the plugin programmatically, opening up a world of possibilities for automation and integration. It might involve creating endpoints to upload images, create sliders, or retrieve performance data.
Customization could enable the plugin to be controlled remotely via a custom application, allowing for automated creation and management of before-and-after comparisons. Or integrate it with a headless CMS, using the API to dynamically generate sliders on a separate front-end.
An e-commerce platform could use API endpoints to automatically generate before-and-after comparisons for product variations, showcasing the differences between different models or configurations.
AI can help with this by generating the code for the API endpoints, handling authentication, and ensuring that the API is secure and well-documented.
How Codeforce Makes the plugin Customization Easy
Customizing plugins can often feel like climbing a steep learning curve. You need to understand the plugin’s codebase, learn WordPress development best practices, and potentially dive into languages like PHP, JavaScript, and CSS. This can be a significant barrier, especially for those without extensive coding experience. Codeforce eliminates these barriers by providing an AI-powered platform that simplifies the customization process.
With Codeforce, you can describe the changes you want to make in plain English, and the AI will generate the necessary code for you. Instead of writing complex code snippets, you simply tell Codeforce what you want to achieve, and it takes care of the technical details. Imagine wanting to add a subtle zoom effect to the “after” image on hover. You could simply describe this effect in natural language, and Codeforce will generate the code to implement it.
The AI analyzes the plugin and your instructions to create optimized and efficient code. This means you don’t need to be a coding expert to create powerful customizations. Codeforce also offers testing capabilities, allowing you to preview and refine your changes before deploying them to your live website.
This democratization means better customization for everyone, from small business owners to marketing professionals. Even if you’re not a developer, but you have a clear understanding of the changes you want to make to the plugin, you can use Codeforce to bring your vision to life.
Best Practices for it Customization
Before diving into customization, always create a backup of your WordPress website and the plugin itself. This ensures that you can easily restore your site to its previous state if something goes wrong during the customization process.
Use a child theme for any CSS modifications. This prevents your changes from being overwritten when the plugin is updated, ensuring that your customizations remain intact.
Thoroughly test your customizations in a staging environment before deploying them to your live website. This allows you to identify and fix any potential issues without affecting your visitors’ experience.
Document your customizations carefully. This will make it easier to understand and maintain your changes in the future, especially if you’re working with a team.
Monitor the performance of your customized before-and-after images. Ensure they load quickly and don’t negatively impact your website’s overall speed.
Keep the plugin updated to the latest version. This will ensure that you have the latest security patches and bug fixes, while also maintaining compatibility with your customizations.
Consider using a code editor with syntax highlighting and linting. This can help you write cleaner and more efficient code, reducing the risk of errors. When customizing, it’s important to write valid and optimized HTML, CSS, and JavaScript code.
Frequently Asked Questions
Will custom code break when the plugin updates?
It’s possible. That’s why using child themes and careful testing are vital. Updates sometimes change core files, so custom code might need adjustments. However, following best practices reduces this risk.
Can I revert to the original plugin settings after customization?
Yes, if you’ve backed up your website and the plugin before customizing. Restoring from a backup will bring back the original settings. If not, you’ll need to manually undo your changes.
How much coding knowledge do I need to customize the plugin with Codeforce?
That’s the beauty of it! Codeforce allows you to describe your desired changes in natural language, minimizing the need for extensive coding knowledge. A basic understanding of web development concepts is helpful, but not essential.
Is it possible to customize the plugin without affecting its performance?
Absolutely! Optimizing your code, using efficient image formats, and thoroughly testing your customizations can help ensure that the plugin remains performant. Monitoring your website’s speed after implementing changes is also important.
Can I use my customized comparisons on mobile devices?
Yes, but it’s vital to ensure responsiveness. This involves using responsive design techniques in your CSS and testing the comparisons on different screen sizes to guarantee a seamless experience for mobile users.
Unlocking the Full Potential of the plugin with AI
You’ve seen how a general-purpose plugin like it can be transformed into a powerful, customized system that perfectly aligns with your specific needs. Customization isn’t just about making cosmetic changes; it’s about unlocking new possibilities, streamlining workflows, and creating a truly unique user experience.
By extending functionality, integrating with other services, and building admin interface enhancements, you can take the plugin far beyond its original capabilities. The result is a tool that’s not just useful, but indispensable, becoming a core part of your website’s success. It enables you to create visually compelling content that drives engagement and achieves your desired outcomes.
With Codeforce, these customizations are no longer reserved for businesses with dedicated development teams. It empowers anyone to bring their vision to life, regardless of their coding expertise. Ready to create captivating comparisons that truly stand out? Try Codeforce for free and start customizing the plugin today. Create stunning visual experiences that convert!


