
Pop quiz:
What’s going to hold your attention more while you read this post – the information itself – or the images inside?
Spoiler: It’s the images. 📷
Don’t believe me? Consider this:
If you read a written text with no images, after three days you’ll only remember 10% of the information. Now, if the text had an image every 300 words or so, you would remember 65% of the information after the same number of days.
That’s the picture superiority effect at work. The brain processes visuals 60,000 times faster than text.
Why is visual information easier to recall? Because you must understand something to recall it. And humans can understand most images at a glance.
It’s not the same for a paragraph of text — you have to read it first to understand it. That takes more time.
That should be enough to convince you of the power blog post images hold.
But adding images for the sake of it isn’t going to give your blog posts the performance boost all those numbers suggest. You need to do it intentionally, with the goal of adding more value to your content.
That’s what this guide will cover: the “why” and “how” of adding blog post images to content. ✅
Table of Contents
Why is It Important to Use Images in Blogs?
Pictures say a thousand words – it’s true.
People learn faster by watching than by reading. Where you can, don’t just explain it. Show it, too.
That’s why you see that our product marketing content here at BrandWell is heavy with screenshots that show how different features of our software work.
Every how-to guide we publish will have screenshots of the actual steps of performing the task in our app. The images are complete with annotations, highlight boxes, and arrows in a contrasting, bright red color.
In the early days of blogging, people hardly used images in their posts. But before long everyone and their aunt had a blog, which made it hard to stand out.
Once it was discovered that using images in blog posts could attract readers and hold their attention, it was suddenly clear that words alone were not enough for successful web content.
Here are more benefits of adding images to blog posts:
1. Break Up Long Text Passages
Large blocks of text are hard and overwhelming to read. Breaking them up with imagery makes the entire page more attractive to read and the information easier to digest.

If your articles are more digestible, readers can fix their problems quickly. Happy that you helped them solve their problem, those readers are more likely to come back again and to talk positively about your site or your business.
2. Make the Blog Post More Scannable
Very few users will read your article in full. Many will skim or quickly browse the article to get a general sense of what it is about.
Other readers are scanners that quickly run their eyes over the entire article to locate the specific information they are interested in. This type of reader appreciates the convenience of visual markers that help them tell the different sections of the article apart.
3. Engage Readers and Boost Conversions
You will not accomplish your conversion goals if visitors don’t stay on your pages long enough. Adding high-quality images ensures they don’t get bored fast, which makes it more likely that they read the article in full.
A good engagement goal to set for your informational content is to have more comments from readers. Comments show that people are actually reading your content. If no one is commenting on your posts, try adding good images. It can lead to a 104 percent increase in your comments.
4. Make Your Blog Posts More Shareable
Images encourage readers to share your content. Social media shares in particular can greatly expand your content’s reach.
Once shared on social media, a blog post’s visibility can snowball. On Twitter, articles with good imagery get 150 percent more retweets, while on Facebook they get 37 percent more engagement.
People don’t share content unless they really enjoy it. So make sure you are using high-quality images that are relevant to the topic you are tackling and that the non-visual content is value-packed and well-written.
5. Add Credibility to Your Claims
It is easy for readers to dismiss claims you make in your blog post, especially if it sounds like you are bragging. In any case, unless you support it with proof, it should rightly be dismissed as hot air.
For example, when we say that more and more publishers are finding value in our tool, it is more believable if we support that claim with an image.

Dom Wells is a respected figure in the niche site publishing space, so the fact he has such positive things to say about our product validates our claims. That image above establishes the credibility of what may have sounded like another random claim.
6. Make Your Content That Much More Helpful
When you make your content easier to understand, readers find it much more helpful. Good illustrative images can even make poor content and bad writers look good.
You want to know something else about helpful content?
Google loves it when readers can find the solutions they are looking for in your content. That the reader ended their search on your site is a powerful signal to Google that your page merits its place on the SERP and that it should probably be rewarded with a higher ranking.
How to Use Images in Blog Posts
Using images in blog posts helps your content stand out and maximizes its readability. That said, you have got to know how and when to use them. Just adding them randomly to your content isn’t going to enhance it in any impactful way.
Before adding an image to a blog post, ask yourself what its purpose is. Generally, images do one of two things:
- Communicate a mood.
- Educate the reader quickly.
To maximize the impact of your image, know what between the two goals your image must accomplish. Knowing that informs the choice and placement of your image.
But where do you use images on a blog post and how does that affect your choice of image?
Where Do You Use Images on a Blog Post?
There are two places you can use images in blog posts. The first is the article’s banner which is occupied by the featured image. When you open a blog post, it is the large image that you find at the top of the page.
Many content management systems have dedicated settings for uploading featured images. In WordPress, those settings are set by your theme settings. So you don’t have to worry about its placement.
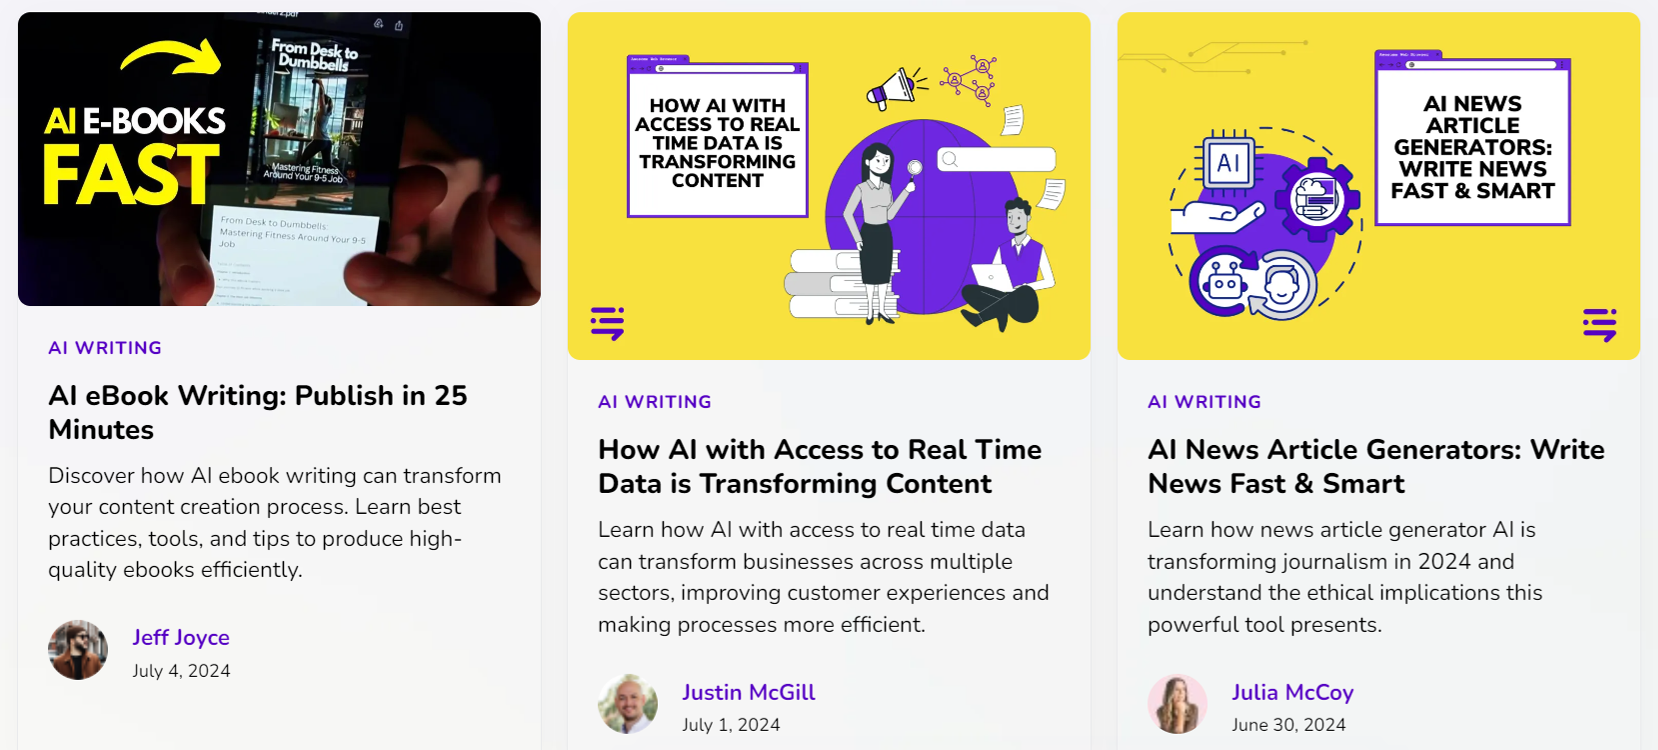
Think of your featured image as a visual representation of your post. It gives readers a general idea of what your blog post is about. It also helps to promote your post and entice clicks from potential readers since it is what they see before they click, especially on social media and on your blog roll (see image above).
You should aim to maintain a stylistic theme with your featured images. When you do that, the image becomes an extension of your brand. For that reason, it is a good idea to get your featured images custom-designed.
We have a graphic designer on staff here at BrandWell and it shows in the clean, unified aesthetic of our featured images. Our featured images attract attention and, at the same time, tell readers exactly what to expect from the post.
The second place you can add images is within the blog post. Used this way, a blog post image’s purpose is to explain a complex idea or show how to complete a step when performing a task. The goal could also be to communicate a mood or feeling, so the choice of the images you use is critical.
How Many Images Should You Use in a Blog Post?
You can only use one featured image per blog post. For the images you use within the post, a generally accepted good practice is to add an image after every 350 words of text.
So the number of images you should use depends on the length of your post. But that also depends on what type of post it is and the purpose of each image.
For how-to guides and product-led content, for example, you may have to add a graphic every couple of sentences. Using as many graphics, especially screenshots of the actual software if it’s a product like our content marketing platform, helps readers to quickly familiarize themselves with your product.
Instead of explaining it using words, the graphic below allows me to show readers where to click to edit the metadata in the BrandWell app.
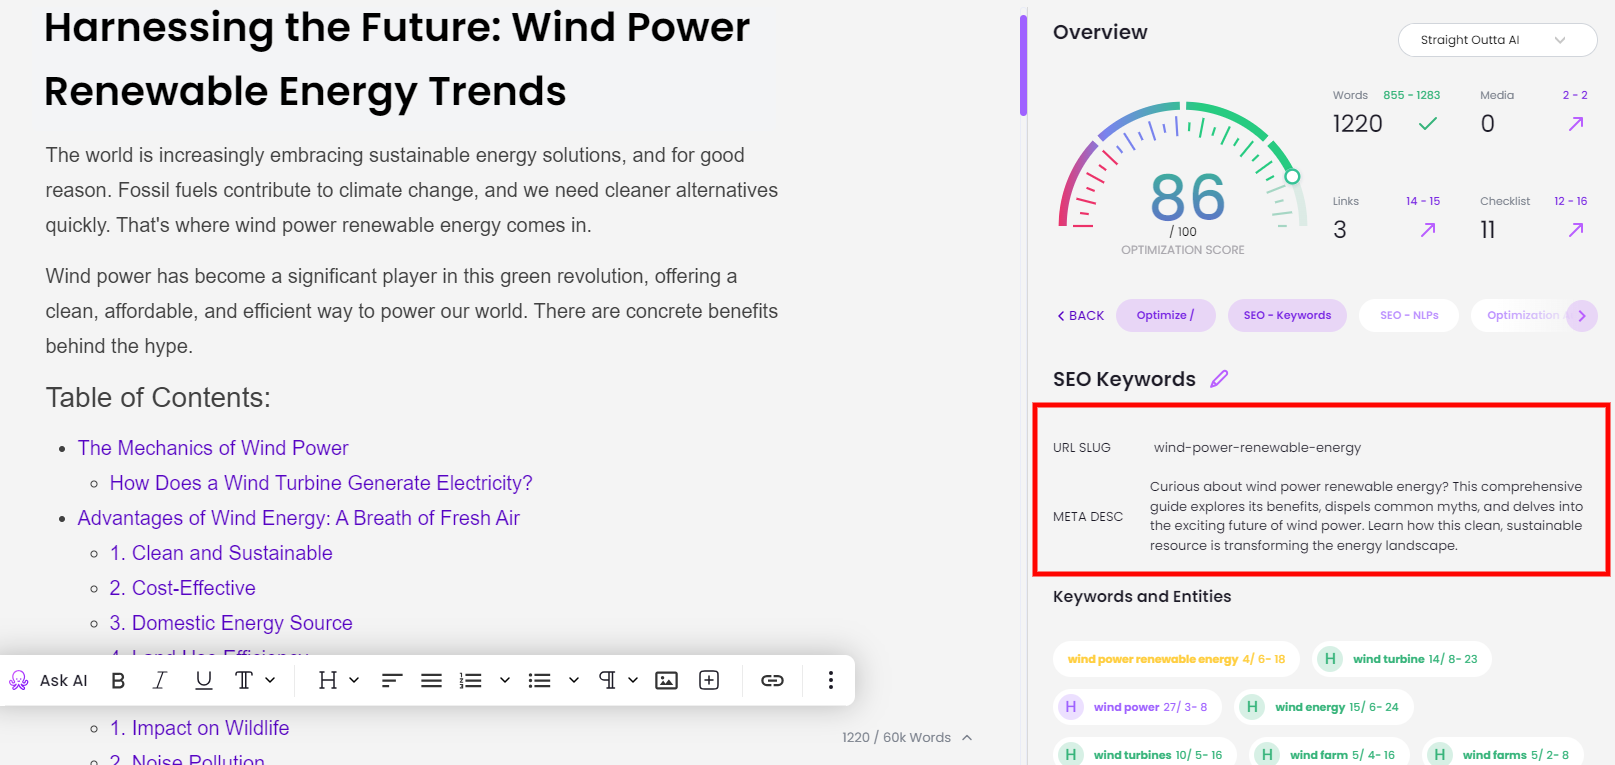
Without the image, I would need a few sentences to explain that, and there would still be no guarantee that my points would get across to everyone.
So used mainly to break up text and boost visual appeal, an image every 300 words is a good rule of thumb. But when showing readers how to do something, use as many images as it takes.
Where to Get Images for Your Blog Posts
When sourcing images for your blog posts, there are several options available. Free public domain images are a good option if you can’t afford to pay for higher-quality images. They are free to use and require no attribution, so they won’t raise any copyright worries. That said, there aren’t many of them available.
Another great image solution to try is Canva. This is an image-editing and creation app with lots of pre-designed templates, so even if you’re not a graphic design wizard, you can create something that looks professional. Plus, creating your own images vs. sourcing them is an easy way to avoid copyright concerns entirely.
Canva also recently released a new, free AI Image Generator, which takes your prompts and turns them into creative images.
After creating them yourself or sourcing free public domain images, your next avenue for finding free images is stock photo websites. While you have to pay for better quality, more exclusive stock images, these sites also offer free stock images whose quality is not terrible.

Pixabay, Pexels, and Unsplash have some of the biggest libraries of royalty-free stock images you can use in your blog posts.
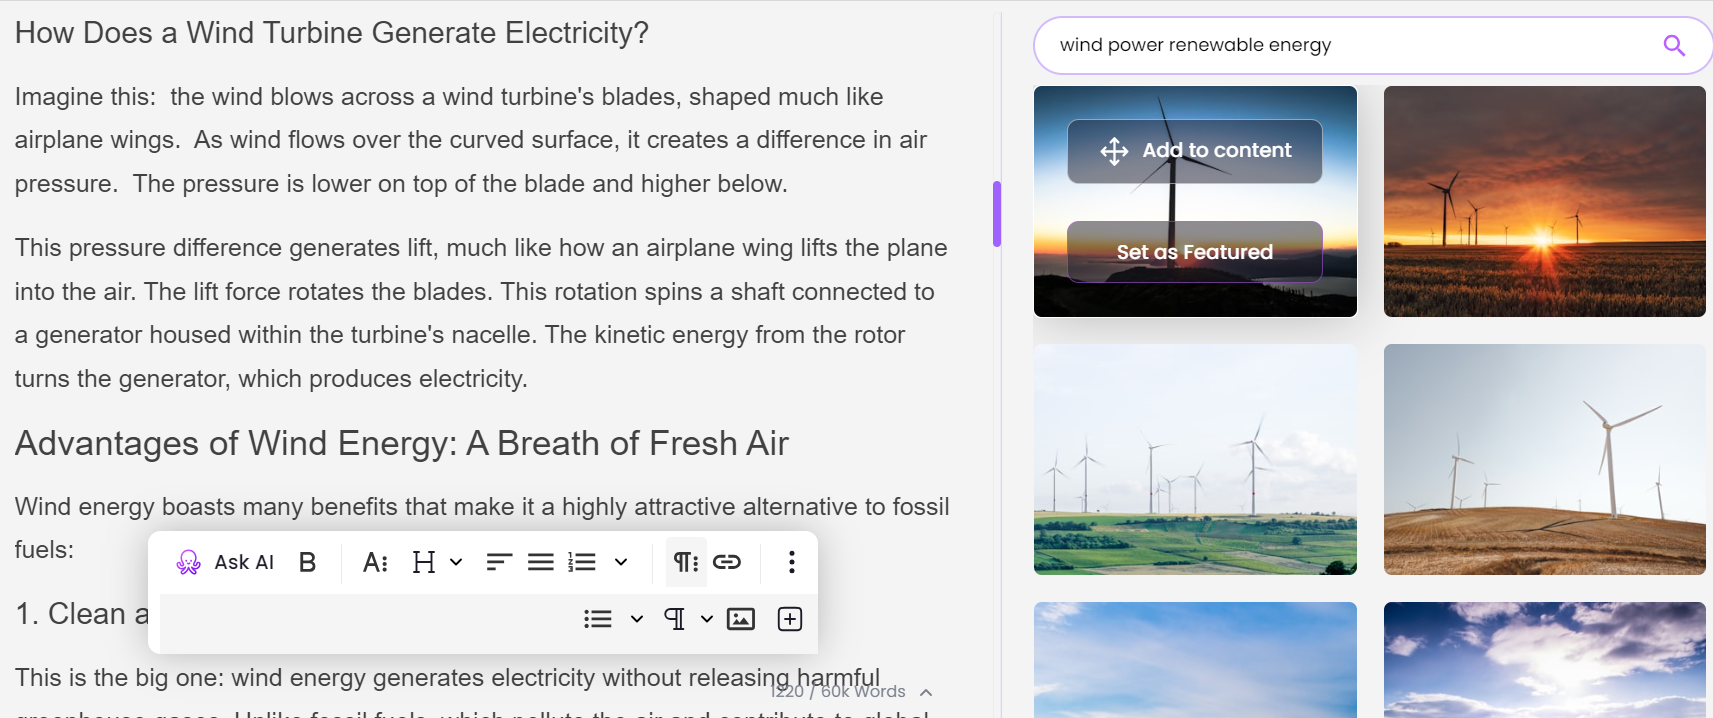
BrandWell pulls free images from these sources and displays them according to your topic or keyword.
To add images to your RankWell-generated blog post, just click on the Generate tab on the SEO sidebar and choose Media.
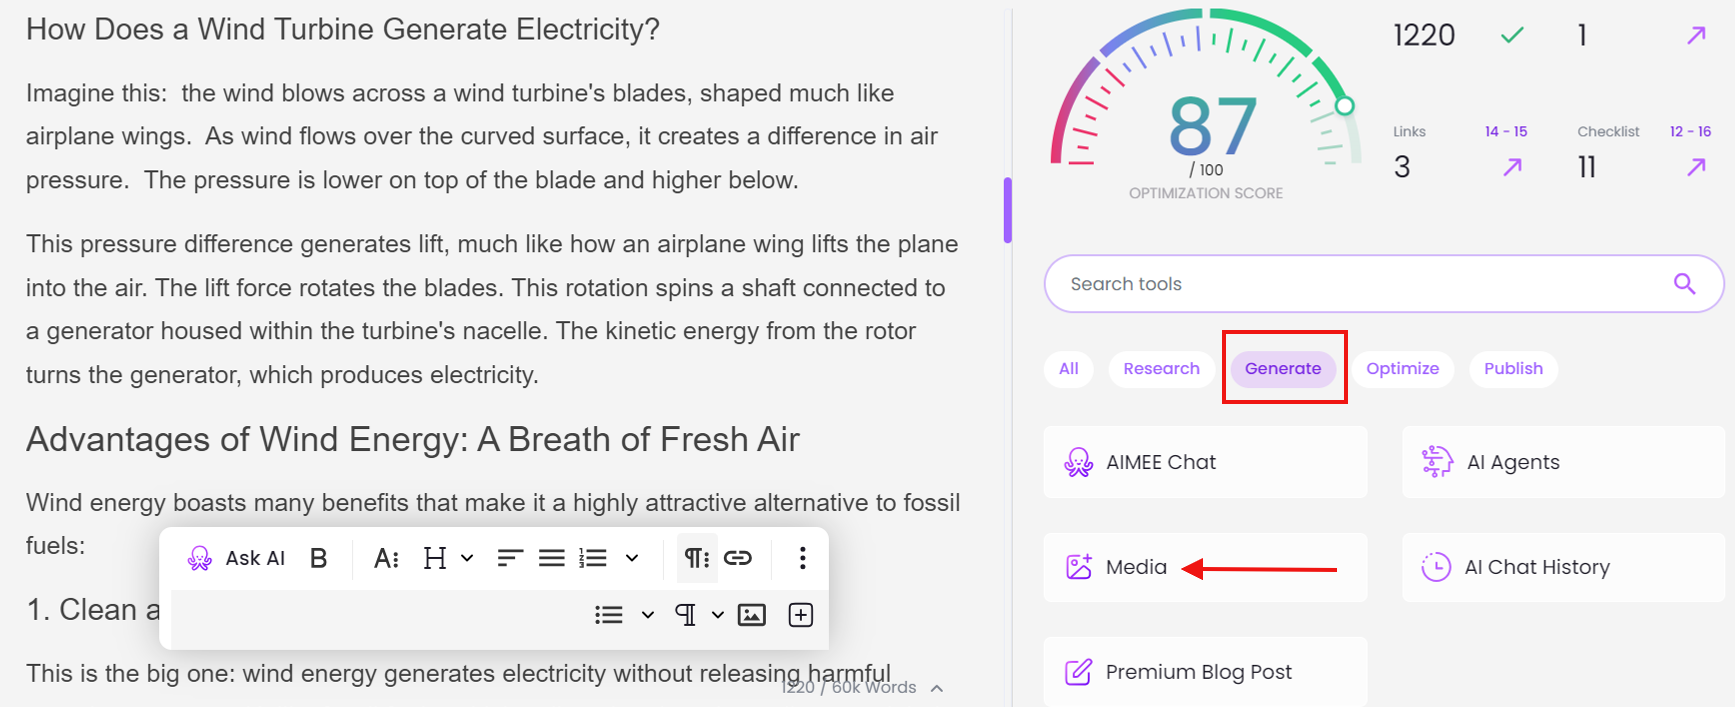
Scroll through the image options and click Add to Content to add the photo to your article, or click Set as Featured to use the image as the featured image of your post.
Do note, however, that if an image is freely available to use on your website, you are not going to be the only one using it.
Mind the Copyright Laws
Before you use free stock images, make sure you understand what rights they come with. Read the terms carefully before using any images from these sites so you don’t get into trouble for copyright infringement.
Some of these images are only free for non-commercial use, which means they are not a good choice if you intend to earn money from your content.
Even if you manage to source an image with a Creative Commons license, there will likely still be some attribution requirements attached that need adhering to.
This usually involves crediting the creator of the photo and providing a link back to their website/portfolio (if applicable). If these conditions aren’t met, then you are essentially breaking copyright law and could face serious consequences.
Key Takeaway: When selecting images for your blog posts, review their copyright restrictions and attribution requirements to avoid potential litigation. Remember that not all free images can be used for commercial purposes. Always err on the side of caution and avoid using images whose copyright status you are not sure of.
Custom and Original Images Have More Value
Your goal as a blogger or web publisher should be to stand out from all the noise online. You will struggle to do that if you use images that anyone else can use freely.
A cheaper alternative is to take free stock images and customize them by adding your own elements using tools like Canva and Pablo by Buffer. Overlaying a quote, statistic, or even another image can transform an ordinary image into a work of art barely recognizable from the original.
If your design aptitude is high or you have an illustrator at your disposal, consider making custom illustrations and graphics for a unique look that readers won’t soon forget.
Still, you may struggle to find images that accurately depict the mood you are trying to communicate, especially for abstract topics or ideas. If you can’t take the images yourself, you are better off commissioning a professional photographer to take original images that you can protect with copyright so that no one else can use them.

The most accessible option for original blog post images is to take screenshots using your smartphone or computer. Practically any computer or smartphone these days can take a screenshot. If your computer cannot take screenshots, you can use a browser extension like Nimbus or Awesome Screenshot.
To boost their visual appeal and make them truly helpful, you can also annotate your screenshots with instructions and add arrows and highlight boxes. My favorite tool for editing and annotating screenshots is the Evernote app. The software’s image editing tool is easy to use and available on the free plan.
If your article includes a lot of original data or is promoting a new concept, your readers will understand it better if you present it in visual form. The best tool for this is an infographic, like the one you see below:

Infographics are 3 times more likely to be shared on social media than other content types. While you may have to hire professional skills to create a high-quality infographic, the benefits will be worth it.
Infographics are magnets for backlinks that can help your article rank very quickly. They are also highly shareable, which boosts your content and brand visibility.
Key Takeaway: Finding the perfect free or royalty-free images for blog posts can be a challenge, but with careful research and consideration of Creative Commons licenses, custom illustrations, Google Image Search results, and stock photo websites, it’s possible to find an image that fits like a glove. You can easily create attractive visuals that will make your content stand out.
How to Optimize Blog Post Images for SEO
Image SEO is a big topic that requires its own article, but this article would not be complete if we didn’t talk about it.
Essentially, Google has a whole search engine dedicated to images. If you optimize your images and make it easy for Google to find them and figure out what they are about, they could be a reliable source of traffic.
That said, images can also hurt your site’s traffic potential if you are not careful about how you use them. That means, if you want your visual content to move the needle, you should follow best practices for image optimization.
What is Image Optimization?
Image optimization is the process of sizing, formatting, and labeling an image to boost user engagement and help search engines understand its context. In terms of its SEO potential, you have to treat your article’s visual content the same way you treat the text.
As far as the best practices for image optimization go, before you publish your blog post, make sure to:
1. Resize Your Images
Large images take too long to load, which hurts both user experience and your chances of ranking in Google. So, make sure the images’ dimensions and the files are the recommended size.
Dimensions are the space that the image occupies on the screen and are measured in pixels. File size, on the other hand, is the space that an image takes up where it is stored. It is measured in bytes.
Larger-dimension and higher-resolution images are typically heavier. Reduce their dimensions and compress them to the right size to speed up page load speed. The easiest way to do this for a WordPress website is with an image-optimization plugin. Just remember image quality decreases with image size.
In terms of user experience, every second counts. If your page takes one second longer to load for every visit, it could lead to an 11 percent reduction in page views. Those lost page views can cost you as much as 7 percent of your total conversions. That would be such a waste considering how hard you worked to get that page to rank in Google.
2. Use Descriptive Image File Names
The image title text helps search engines understand what an image is about. They are not as important for SEO as the alternative text but they add additional context. Besides, when properly optimized, they look better than unintelligible computer-generated filenames.
I always make sure my image file names are short and descriptive. That way, I find them quite helpful when searching through my storage for images to use in my posts.
3. Add Alt Text for All Images
Search engine crawlers cannot read images the way we can, so they rely on alternative text to learn what an image is showing. Screen readers that visually impaired people use to consume your content also depend on the same alt text for context.

Image alt text also helps readers understand what an image is about if it, for some reason, fails to load. So the primary purpose of image alt text is to make your images more accessible to readers. It has an important role in boosting user experience, it can also be optimized for SEO benefit.
For maximum SEO benefit, the image alt text must include a keyword you are targeting. But make sure it describes what’s on the image, otherwise, it will be nothing more than spam. To make sure screen readers can read it in full, keep your image’s alt text length within 125 characters.
Side note: The BrandWell app uses your post’s primary keyword for the alt text as a default, but you may edit it if you prefer.
4. Add Image Structured Data
If you want to maximize the visibility of your images in search, don’t stop at adding alt text. You must add structured data to your pages. Doing that boosts the chances of Google showing your images in rich results.
How to Add Images to Blog Posts Using the BrandWell App
Adding images in the BrandWell is pretty straightforward. Keeping the theme of this article, here’s a visual guide of how to do it step by step.
First, click the image icon on the floating toolbar to upload your image:
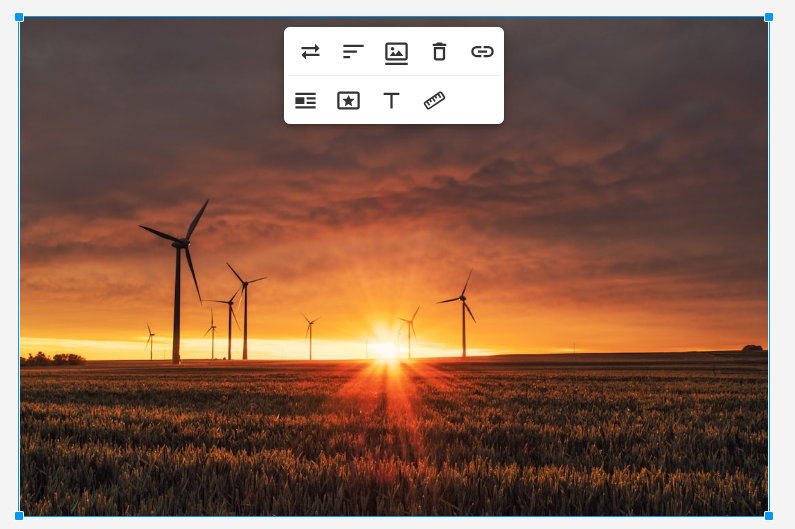
After uploading your image, a pop-up toolbar will appear where you can add an image caption, link target, URL, and alternative text:
Videos are the Ultimate Visual
Videos are the most engaging content format. They are 1200% more shareable than text and images combined. Embedding a video to your blog posts can skyrocket both engagement and the time visitors spend on the page.
Speaking of time-on-page, instead of adding an outbound link and risking losing the visitor to YouTube, you want to embed the video so that it plays right there on the page.
Some more info:
— Dom Wells (@DomWellsOnfolio) March 1, 2023
– 99% info content/keywords
– Published unedited
– Added 1 image
– Mixed publishing schedules
Besides videos, you can also embed tweets and GIFs. Embedding live tweets is a great way to keep your website fresh and authentic, while GIFs can help emphasize your CTAs and add a playful element that makes your content more approachable.
FAQs: Blog Post Images
How many images should you put in a blog post?
Add an image every 300 words to break up the text, explain complex topics, and boost visual appeal. But don’t be afraid to use as many images as it takes to get your points across.
Should I watermark my blog photos?
It is not necessary to watermark the images you use in your blog posts. But you can always search for your original images online to check if people are using them illegally. If you find there are, you can take legal action against them.
Why is the use of images significant in your blogs?
Images help to engage readers, break up the text, illustrate complex concepts, increase click-through rates on social media platforms, and improve your rankings in search engines. They also help to create a more visually appealing design for the blog post that will draw readers in and keep them engaged throughout the article.
Which image format is best for blogging?
JPEG is the best format for high-resolution images you intend to use in blog posts. They retain their quality well when compressed to reduce their size and boost page speed. For images like screenshots that are not as colorful, PNG is the best image format to use.
Make Your AI Content Pop and Boost its Visibility with Blog Post Images
Adding images can significantly enhance the quality and engagement of blog posts while also improving their chances of ranking in search engines and converting readers into customers.
To maximize the benefits of adding pictures to your blogs, use high-quality royalty-free images. If you optimize your images using the tips we have shared, your blog posts will be charging up the SERPs and drawing in readers like a magnet.